Large Jewelry Box: A Luxurious and Spacious Woodworking Project
Are you a passionate woodworker looking for a challenging yet rewarding project? Building a large jewelry box is an excellent choice that combines craftsmanship, design, and practicality. This project will allow you to showcase your woodworking skills, create a beautiful piece of furniture, and provide a safe and organized space for your cherished jewelry.
This article will guide you through the entire process of creating a large jewelry box, from selecting the materials to finishing the final touches. We'll explore design considerations, provide step-by-step instructions, and offer valuable tips for achieving a professional result. Let's embark on this woodworking adventure together!
Design Considerations
Before you start cutting wood, it's essential to plan the design of your jewelry box. Consider the following factors:
Size and Shape
The size and shape of the box will depend on the amount and type of jewelry you need to store. You can opt for a rectangular, square, or even a more unique shape. Remember, a larger box will offer ample space for all your treasures.
Materials
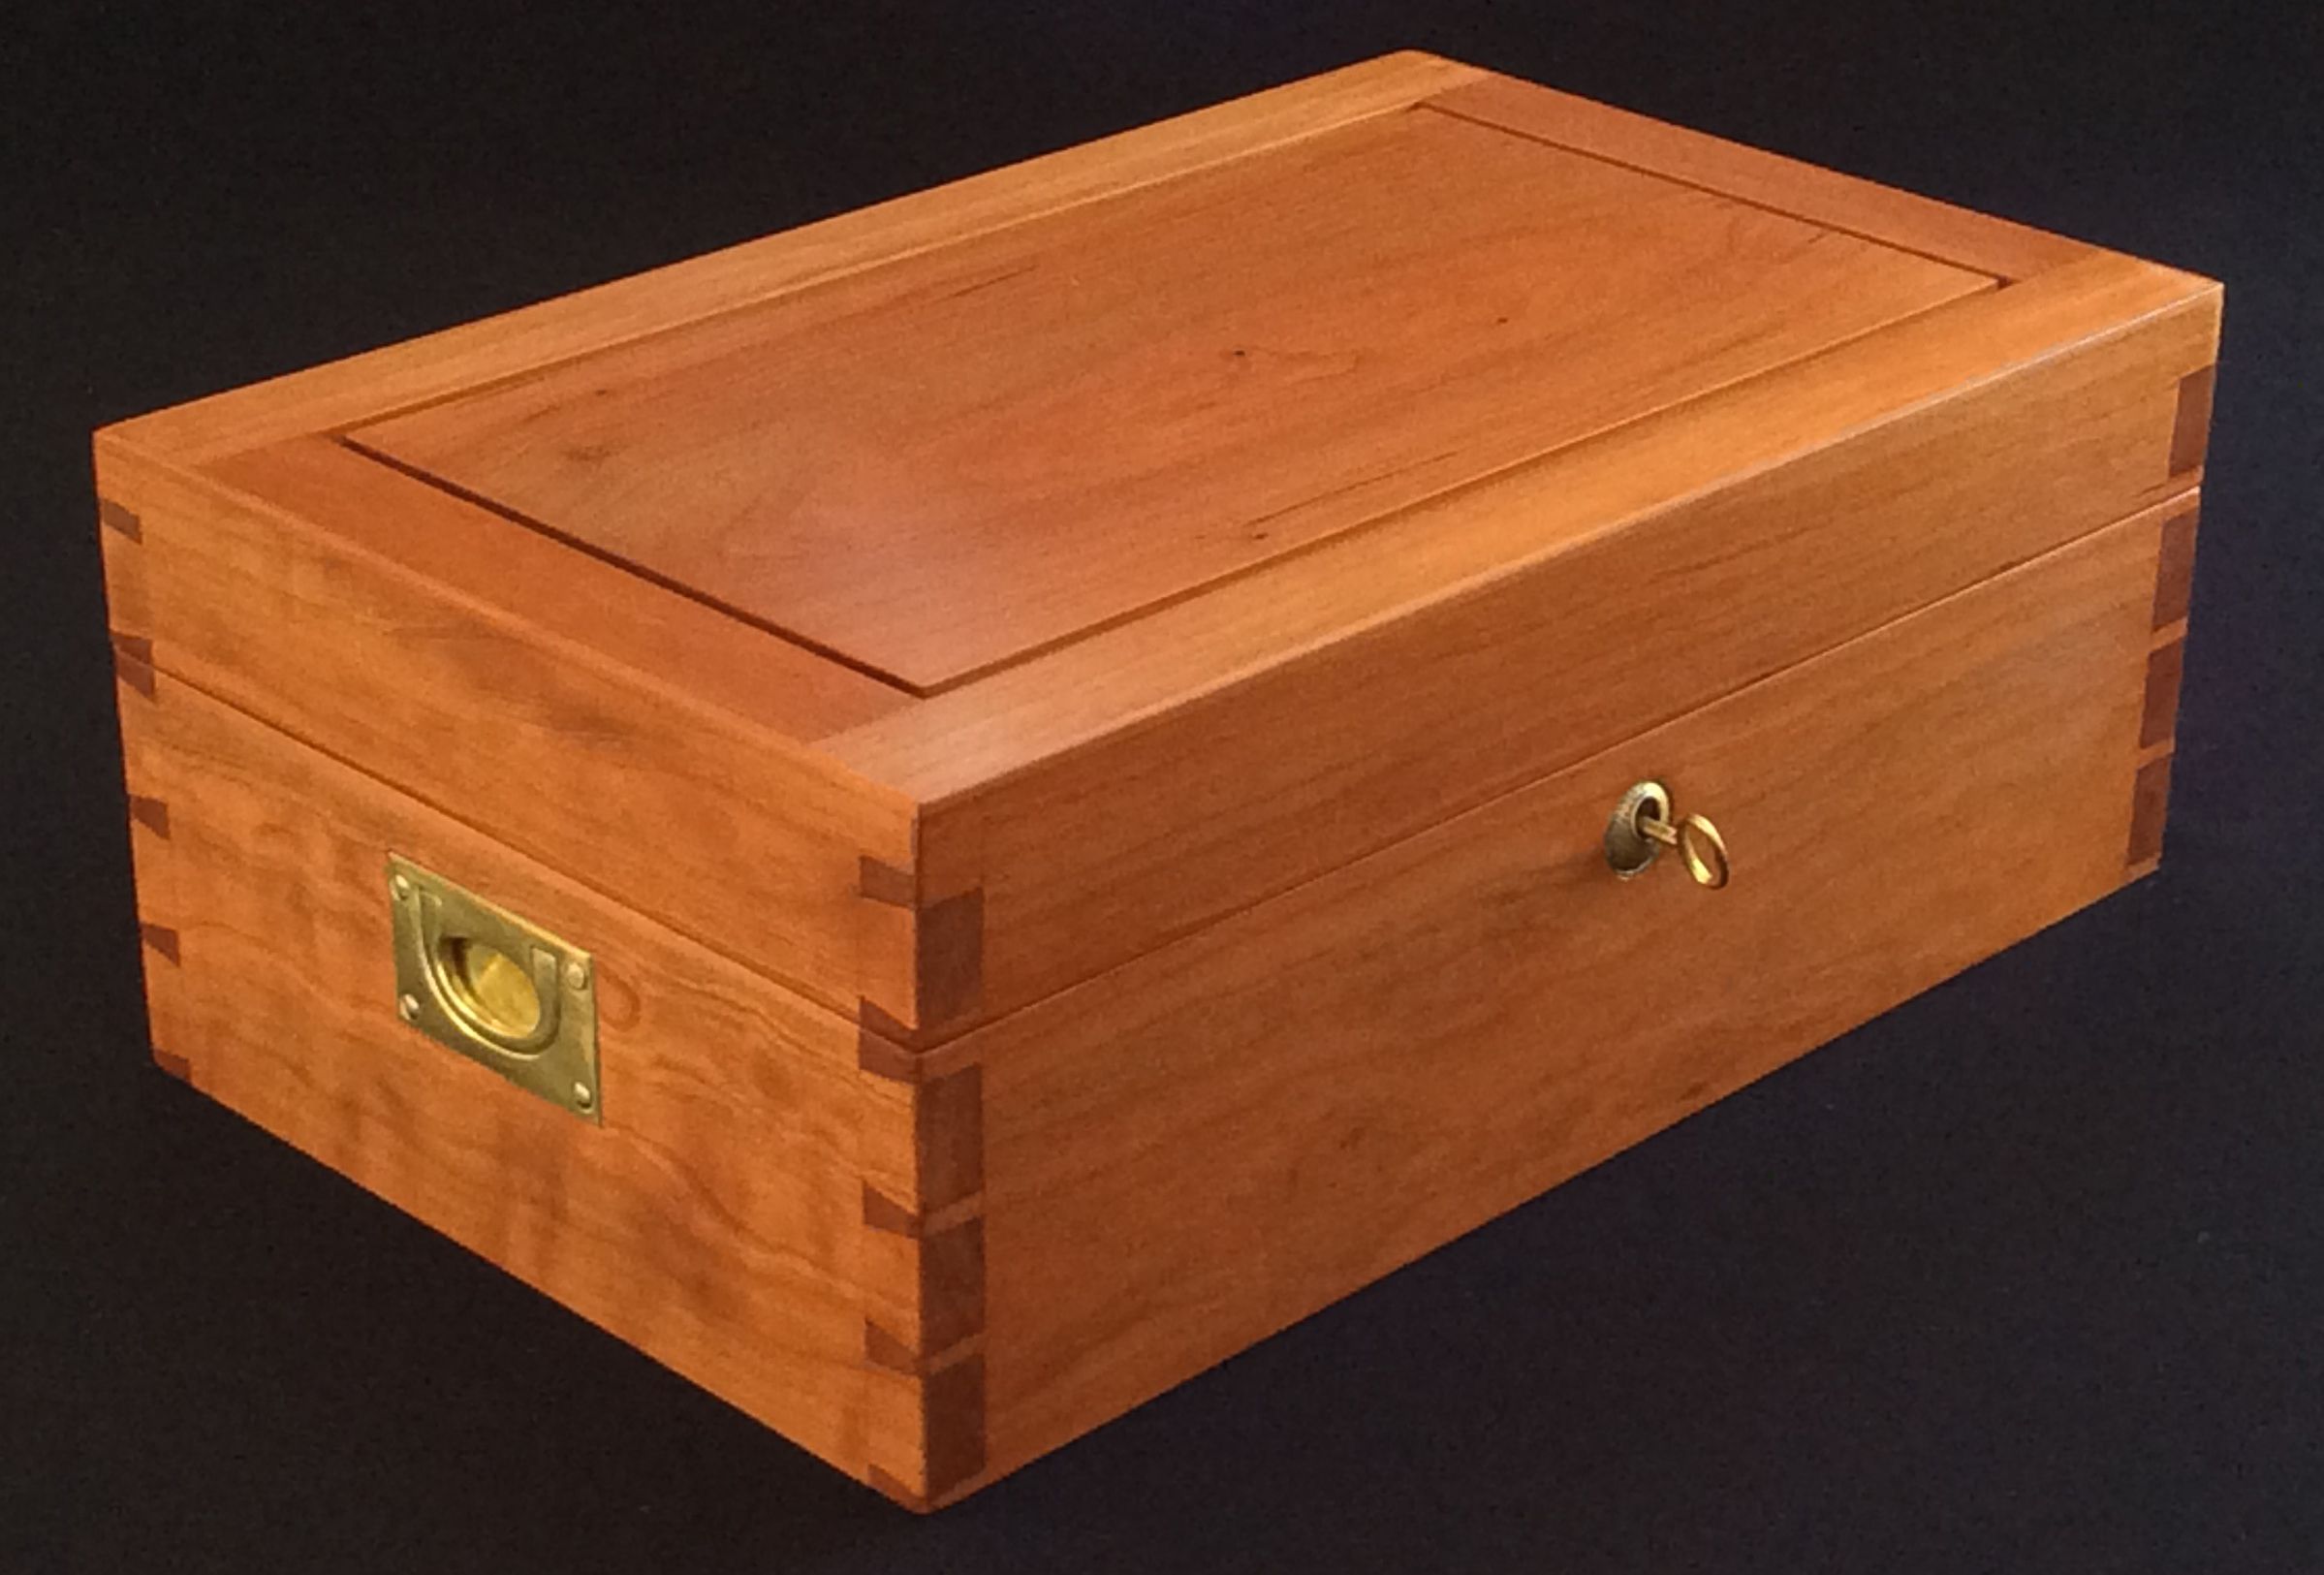
Choose a high-quality wood that complements your style and provides durability. Popular choices include hardwoods like cherry, walnut, oak, maple, and mahogany. You can also experiment with softwoods like pine or cedar for a more rustic look.
Features
Think about the features you want to incorporate, such as:
- Drawers: Multiple drawers can help organize different types of jewelry.
- Compartments: Create compartments for rings, earrings, necklaces, and bracelets.
- Mirror: Include a small mirror for easy viewing.
- Lock and Key: Enhance security and keep your jewelry safe.
- Decorative elements: Carvings, inlays, or decorative hardware can enhance the aesthetics of your jewelry box.
Materials and Tools
To complete this project, you will need the following materials and tools:
Materials
- Wood (hardwood or softwood, depending on your choice)
- Wood glue
- Finishing nails or screws
- Wood filler
- Sandpaper (various grits)
- Wood stain or paint (optional)
- Polyurethane or varnish (for finishing)
- Hardware (hinges, drawer slides, lock and key, etc.)
Tools
- Table saw
- Miter saw
- Jointer
- Planer
- Router
- Drill press or hand drill
- Clamps
- Measuring tape
- Pencil
- Chisel
- Hammer
- Screwdriver
- Safety glasses
- Dust mask
- Hearing protection
Step-by-Step Instructions
Follow these step-by-step instructions to build your large jewelry box:
Step 1: Cut and Prepare the Wood
- Cut the wood according to your design using the table saw, miter saw, or jointer.
- Sand all the pieces with sandpaper to create a smooth surface.
Step 2: Assemble the Base and Sides
- Create the base of the box by joining the bottom and side panels using wood glue and finishing nails or screws.
- Clamp the pieces together while the glue dries.
Step 3: Construct the Lid
- Assemble the lid in a similar manner to the base.
- Ensure the lid fits snugly over the base.
Step 4: Add Drawers or Compartments
- If you're adding drawers, cut and assemble the drawer boxes. Install drawer slides to ensure smooth operation.
- Create compartments by dividing the interior space with wooden dividers.
Step 5: Attach Hardware
- Install hinges to attach the lid to the base.
- Add any other desired hardware, such as a lock and key, handles, or decorative accents.
Step 6: Fill, Sand, and Finish
- Use wood filler to cover any imperfections.
- Sand the entire box thoroughly to create a smooth finish.
- Apply wood stain or paint, if desired.
- Seal the wood with a protective finish like polyurethane or varnish to enhance its durability and beauty.
Tips for Success
Here are some valuable tips to help you create a professional-looking jewelry box:
- Use precise measurements: Accurate measurements are crucial for achieving a perfect fit and avoiding errors.
- Choose high-quality wood: Investing in good wood will make a significant difference in the final product's look and durability.
- Sand carefully: Smooth sanding is essential for a beautiful finish. Use various grits of sandpaper to achieve a smooth surface.
- Take your time: This project requires patience and attention to detail. Don't rush through any steps to avoid mistakes.
- Practice good woodworking techniques: Proper woodworking techniques will ensure a sturdy and well-constructed jewelry box.
- Add a personal touch: Incorporate decorative elements or custom features to make your jewelry box unique and personalized.
Conclusion
Building a large jewelry box is a challenging but rewarding project that allows you to create a beautiful and functional piece of furniture. By carefully planning your design, using high-quality materials, and following these step-by-step instructions, you can craft a stunning jewelry box that you'll cherish for years to come. Remember, woodworking is an art form, so don't be afraid to experiment and add your personal touch to create a truly unique piece.


0 comments:
Post a Comment
Note: Only a member of this blog may post a comment.